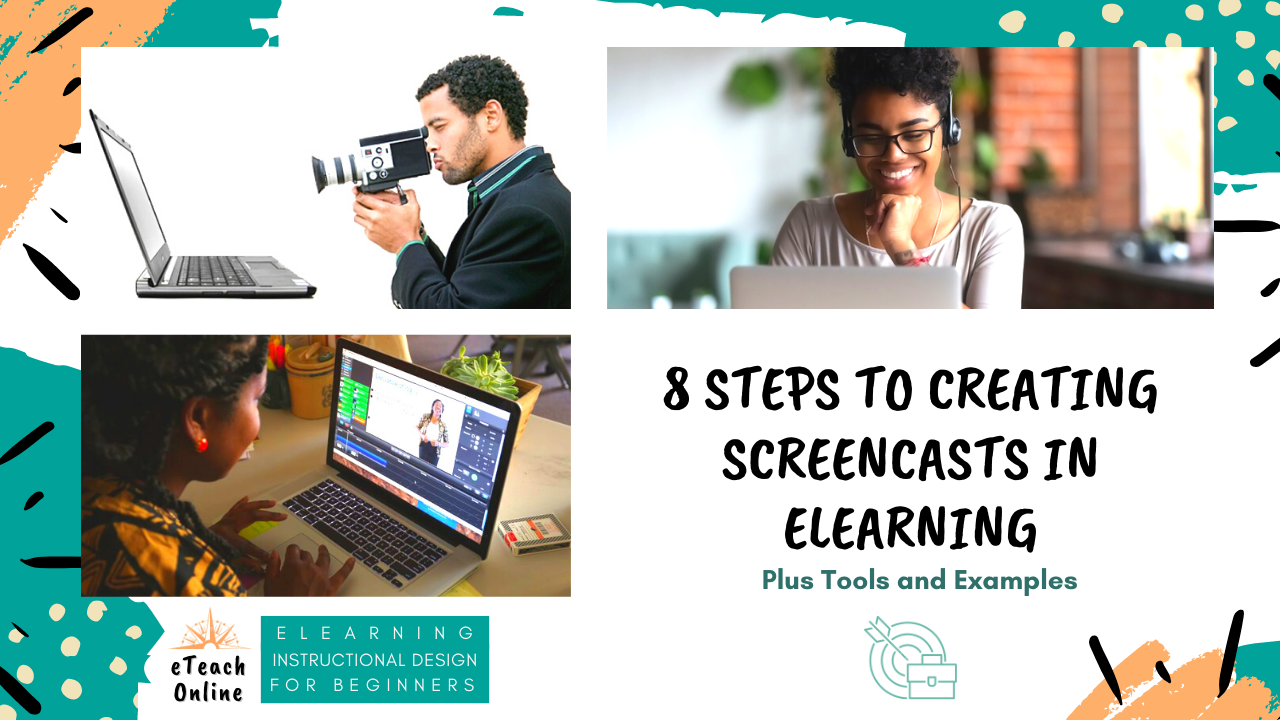

Screencast applications are invaluable tools for creating content, demonstrating programs, and for explaining processes to your learners. They are also sometimes used in conducting webinars or in the flipped classroom.
Screencasting is also a way to differentiate the presentation of content. As learners listen to the presentation, they can go back and replay the presentation or even fast forward as needed. As a learning support, it is learner-centered rather than instructor-centered.
Screencast can also be used as an assessment or feedback tool. Consider the learner who is in an online math class that is explaining the process to solve a complex equation. Instructors can listen to the learners’ explanation and discover their thinking process for solving the equation.
The utilization of screencasts also allows eLearning instructors to improve the accessibility of resources themselves by creating LMS walkthroughs. You can also use them to allow learners to share what’s on their screen to enhance group collaboration activities.
Steps on how to incorporate screencasts into your eLearning course design:
1. Select an Authoring Tool
A robust eLearning authoring tool gives you the ability to record your screen, add audio, and edit the entire online presentation.

2. Write an Outline

Before hitting the record button, it’s essential that you create an outline or storyboard that highlights the key points that you need to cover during the online presentation.
An outline will help make things easier when it comes time to edit, as it gives you a roadmap to follow. This is also the time that you should write a script so that you can stay on track.
Watch the video below to see an example screencast recording on how to storyboard an online course.
3. Start with a Brief Overview of the Topic
It is important to provide your learners with an engaging introduction that gives them a brief overview of what they should expect to learn by the end of the presentation.
You should also mention at this time any supplemental activities that tie in with the screencast. For example, online simulations, videos, or tutorials that help them build related skills.
4. Concentrate on the Learning Objectives and Knowledge Gaps
Your screencast needs to be relevant and tie into your learners’ needs, focusing on any
knowledge gaps and the learning objectives. Using the learning objectives as a guide will help you create a more effective script and outline that gets right to the point.
5. Focus on Specific Areas of the Screen to Reduce Cognitive Load
Most screencasting tools allow you to focus on certain areas of the screen so that your learners can concentrate on the feature or function that is most relevant.
For example, you can gray out extraneous sections, place a box around one particular item on a bulleted list that appears on the screen.
6. Choose the Ideal Recording Environment
Your learners shouldn’t have to mentally block out extraneous noise when they’re viewing the screencast, which can prevent them from absorbing the information and retaining it later. It is important that you choose a quiet location to record your screencast.
7. Conduct a Test Run
It is a good idea for you to conduct at least one test run to ensure that everything goes according to plan. This will allow you to play it back and see how it turned out, determining whether your speech pattern sounds naturally, the pace, and whether there is any lag in the recording.
8. Edit the Screencast
It is crucial to conduct a thorough edit before you finalize your presentation. You need to edit out any white noise, lengthy pauses, or other annoying audio elements.
These things don’t just diminish the quality of the screencast, but also the benefits your learners will receive, causing them to focus on the background noise where they might forget about the takeaways or be unable to hear the narration.
Ensure that it is free of any pauses or “ups'' and that the audio and visuals are aligned.
Screencasts provide online learners with a visual example they can use to improve task proficiency and increase knowledge retention.
Make your learners’ online experience more memorable by using screencasts!
If you would like to learn how to complete each of the steps mentioned in this post in detail, explained with graphics and videos, join the eLearning and Instructional Design for Beginners Community. Start your career in Instructional Design (ID) and eLearning. Build an online course from scratch and finish with mastery.
Whatever you need help with, the community is there to help you master your skills. Interested in joining the community? Click here to get started.

JOIN THE
eLearning and Instructional Design for Beginners Community
- In-depth courses & training
Access my rapidly growing library, attend monthly live training & accountability support groups
- Exclusive tools & members-only discounts
Tools, templates, downloads, checklists and more - plus receive special perks & discounts
- Supportive community & network
Feedback and support from fellow instructional designers, career-driven business owners, and experts who will keep you on track
Get Your Software Toolkit for Instructional Designers
Tools & processes that will help you plan, build, and grow your instructional design career and freelance business.


